

Hitomezashi sashiko stitching can look complicated but breaks down to a few surprisingly simple steps.
Instructions for stitching this particular pattern are a little further down the page but first lets have a quick review. (Obviously if you already know this stuff you can scroll right on by :-D)

This design is available from my website. It comes pre-printed on sarashi-momen fabric in wash out ink. You can also buy sashiko threads and sashiko needles there. A Threaded Needle
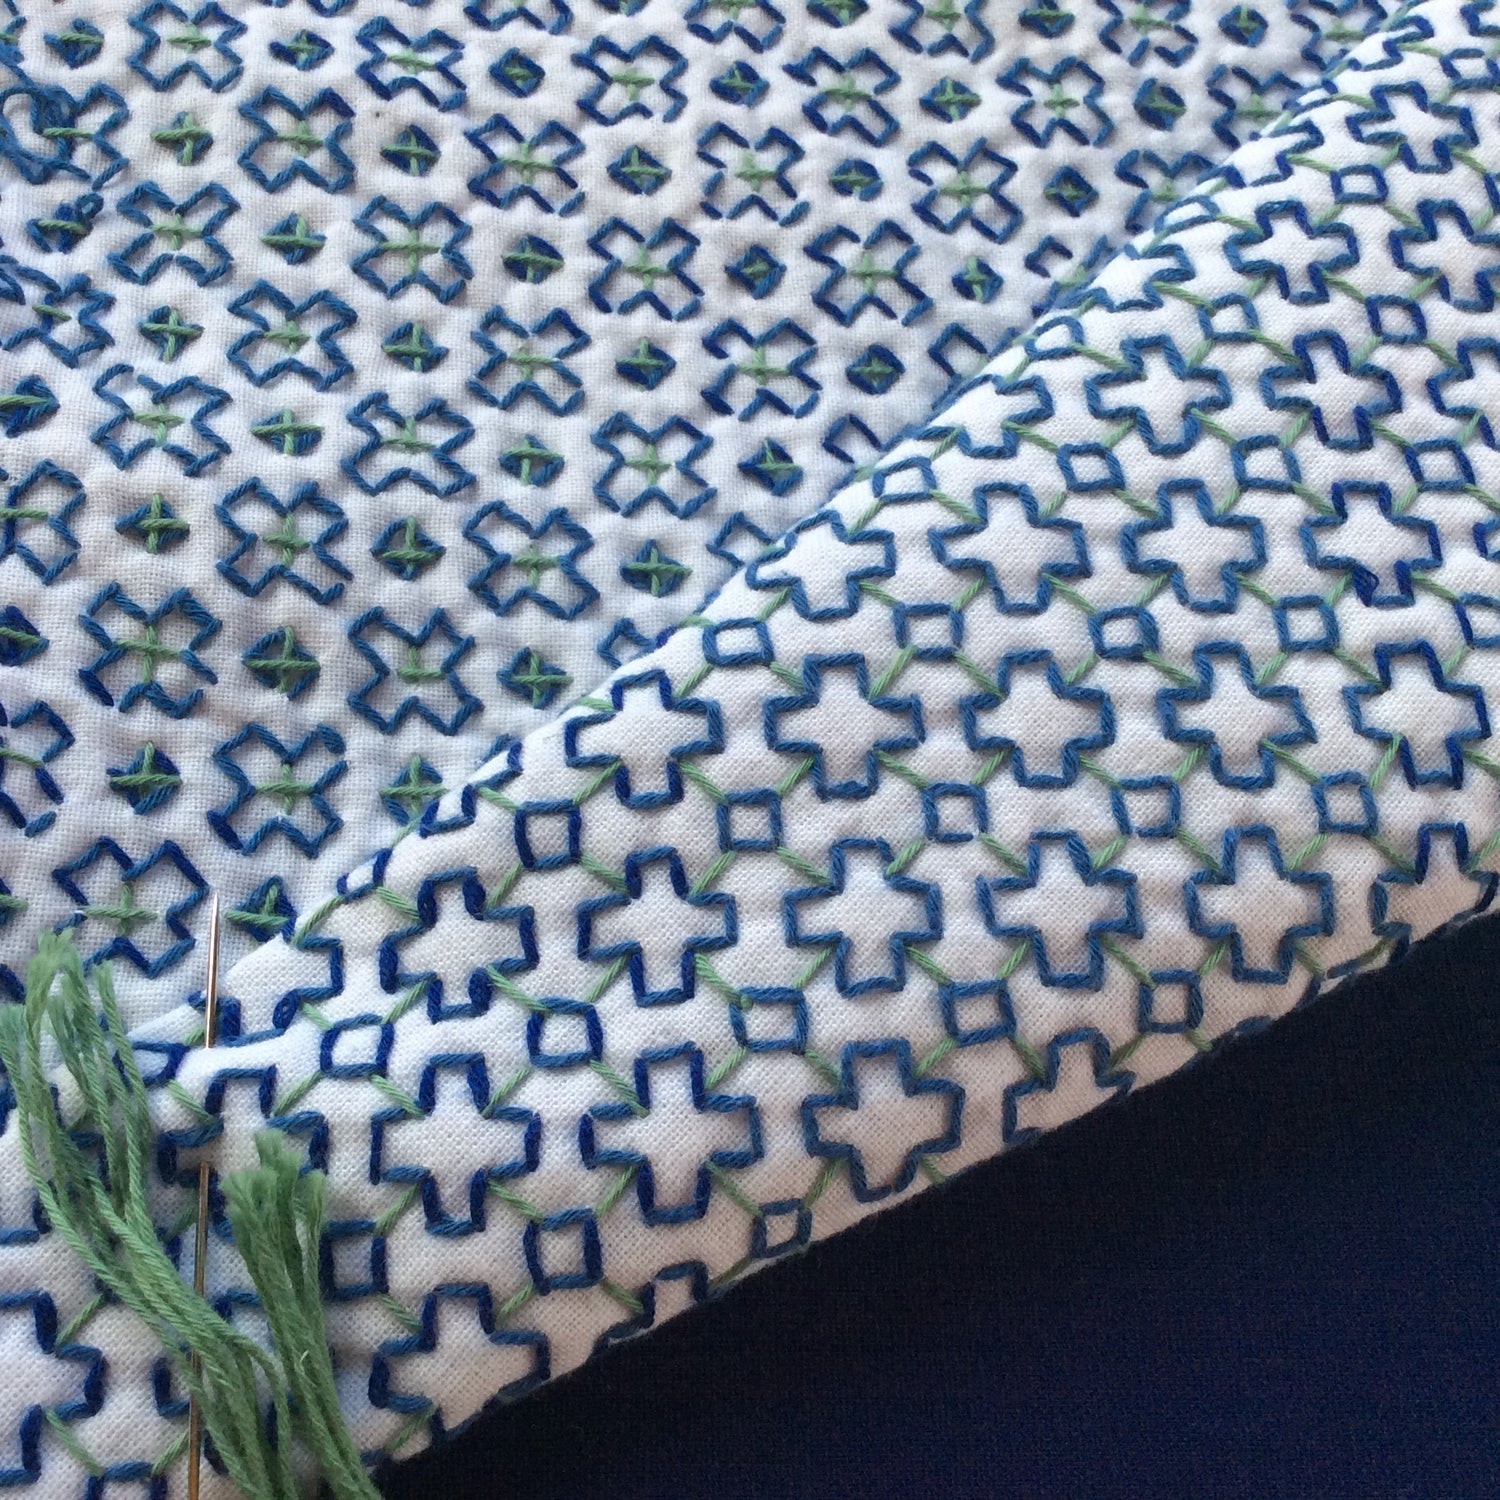
Here is a photo showing the front and the back of this pattern when stitched

WHAT IS HITOMESASHI SASHIKO?
Hitomezashi is a sashiko stitching style. The designs are made up of single stitches stitched in straight lines across the fabric. It is sometimes referred to as one-stitch sashiko. The stitching covers the fabric much more densely than the Moyozashi sashiko (large sashiko designs).
Things you need to know before you start this sashiko sampler: This traditional 100% cotton Japanese fabric is woven on the traditional width narrow looms. This means it has selvedges on two edges. The 12" x 12" pattern is printed on a 26" length of the fabric and you are meant to fold the unprinted half to the back of the printed half and stitch through both layers.
The printed design will disappear completely in water so keep it dry until you are finished. Also do not iron before it has been washed.
If you would like your cloth to have finished edges, fold the cloth in half with the printed side inside and stitch the raw edge together about 5/8" from the edge.
Now, turn the cloth right side out (print on the top) and finger press the seam flat (no ironing!)
Smooth the fabric layers out, then stitch the two rows around the outer edges.
Before we leave this general information section here are two photos (borrowed from a different sampler) to review two sashiko basics:
1. Putting many stitches on the sashiko needle at a time. This will give you straighter more even stitching, and it goes along much faster.

2. Hitomezashi stitching is dense so it is important to keep you stitching threads quite loose and to leave a small loop at the end of every line you stitch. I also stop frequently and holding the edges of the fabric on opposite sides, pull firmly. Repeat in several places. This will very likely pull those small loops into the fabric so they disappear and that will make it possible for the finished cloth able to lay flat as the stitches accumulate in it.

The instructions for stitching this "Cross-Tsunagi" design start here:
Step 1.
Stitch all the horizontal lines. Stitch each line all the way from one side to the other.
You can start your first thread with a small knot and then end it by weaving it under two or three stitched on the back of the fabric. When I'm stitching the 12" X 12" samplers I like to start and end my threads on the outside margins leaving a few inches of thread tail. This allows plenty of extra thread length to ease back into the fabric if it begins to tight up too much.

Step 2. Stitch all the vertical lines.
The design will begin to emerge at this stage :-)

Step 3. Stitch all the diagonal lines in one direction. And when that is finished, stitch all the diagonal lines in the other directions.
I changed my thread colour to green for this.
 It really is that easy!
Here is what I made from this cloth:


You use these same three basic steps to stitch all the Hitomezashi Sashiko pre-printed patterns so don't be afraid to try some of the others even without English instructions.
Happy Stitching,
Susan